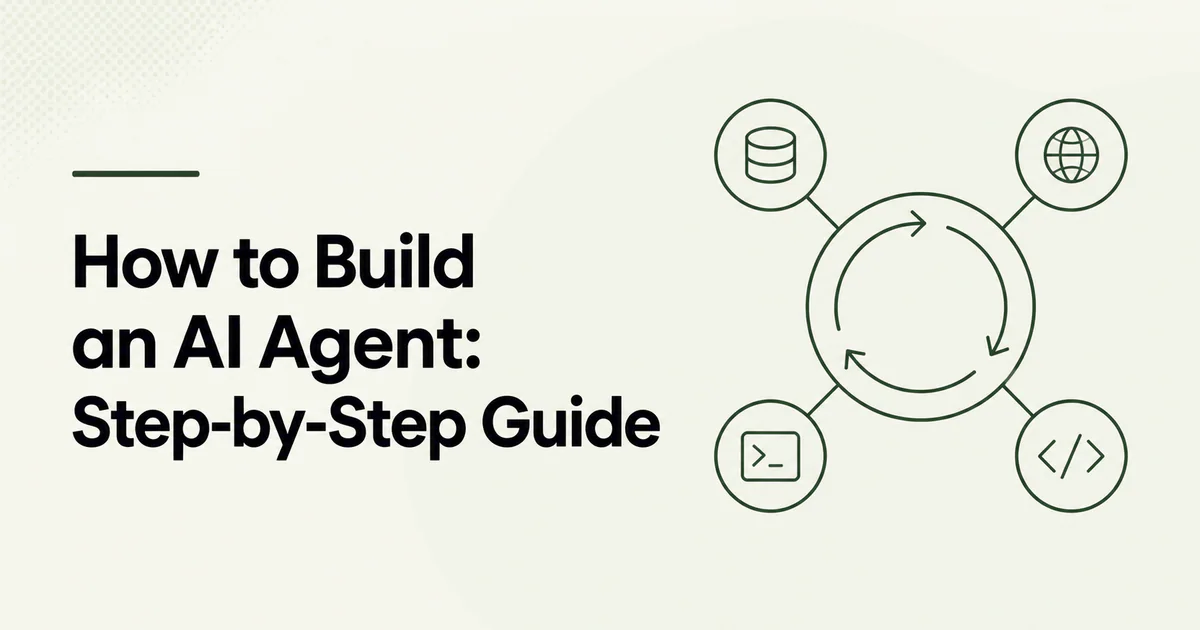
Quick answer: Build an AI agent by choosing one bounded outcome, defining success and failure, starting with one agent, adding only the required tools, validating all tool calls in trusted code, requiring approval for side effects, tracing every run and testing a representative scenario set. Expand autonomy only after the narrow version works reliably.
The fastest demo is a prompt connected to several APIs. The fastest route to a maintainable product is different: define the job and control boundaries before selecting an agent framework. OpenAI and Anthropic's current engineering guidance both recommend beginning with a focused, simple design before adding multi-agent orchestration.
Step 1: Choose a bounded task
Use this template:
For [authorized user], the agent will [observable outcome] using [specific systems]. It must stop and escalate when [conditions]. Success is [verifiable state].
Example:
For a signed-in support specialist, the agent will investigate failed export jobs using account metadata, job logs and approved documentation. It may retry an idempotent job after approval. Success is a verified completed export or a ticket containing evidence and escalation details.
“Handle support” is too broad. A narrow task makes tool, permission and evaluation decisions possible.
Step 2: Create a non-agent baseline
Before building a loop, try:
- one model call with structured output;
- a fixed retrieve-then-generate flow;
- deterministic routing plus one AI classification step;
- a human-operated tool workflow.
If one of these achieves the outcome, it may be more reliable and cheaper. Read AI agents vs AI automation for the architecture decision.
Step 3: Select the runtime
You can build the loop directly with a model API or use an agent SDK. OpenAI's official documentation positions the Responses API for custom model-powered features and the Agents SDK for bounded workflows requiring recurring tool loops, handoffs, sessions, tracing, guardrails or resumable approvals.
Choose a runtime based on:
- supported model and tool providers;
- structured tool contracts;
- state and streaming;
- approval and resume behavior;
- tracing and evaluation integration;
- deployment control;
- language and framework fit;
- maturity and upgrade path.
Do not select multi-agent features before proving that one agent is insufficient.
Step 4: Define the agent contract
Write instructions that specify:
- the exact job;
- authoritative data sources;
- prohibited actions;
- when to ask a question;
- when to escalate;
- evidence required before a conclusion;
- output schema;
- stopping conditions.
Keep policy in application code. “Never refund more than $100” in a prompt is helpful guidance, but the refund tool must enforce the limit independently.
Step 5: Design narrow tools
A strong tool has:
- a concrete name such as
get_export_job_status; - a description explaining when to call it;
- minimal typed parameters;
- stable structured output;
- explicit error states;
- least-privilege credentials;
- an idempotency strategy for writes;
- predictable latency and result size.
Avoid a generic run_sql or call_any_api tool. Broad capabilities make authorization and evaluation difficult. Expose business operations such as list_failed_exports or retry_export_job with policy embedded in trusted code.
MCP can standardize how tools are exposed to compatible hosts. Compare MCP vs function calling before choosing the boundary.
Step 6: Add state deliberately
Store:
- authenticated user and tenant outside model-visible context when only code needs them;
- task status and completed steps;
- pending approval request;
- external operation identifiers;
- concise conversation state;
- source references needed for evidence.
Do not store secrets in conversation history. Do not treat model-generated summaries as the authoritative external state. Re-read critical records before a write.
Step 7: Build the tool loop
The runtime should:
- send the goal, instructions and allowed tools;
- parse a response or tool call;
- validate schema and authorization;
- pause if approval is required;
- execute with timeout and idempotency;
- return structured results;
- check progress and budgets;
- continue or stop;
- verify the final external state.
Cap turns, tokens, tool calls, wall-clock time and monetary cost. A max-turn failure should produce a resumable escalation, not a fabricated success.
Step 8: Add human approval
Require review for:
- sending external messages;
- changing permissions;
- purchases, refunds or transfers;
- deletion or destructive edits;
- publishing content;
- executing privileged commands;
- sharing sensitive data with a third party.
Show the exact tool, target, arguments and likely effect. OpenAI's Agents SDK supports pausing and resuming runs around approval; whatever runtime you use, preserve task state rather than starting a disconnected conversation.
Step 9: Isolate execution
If the agent runs code, edits files or browses untrusted content, use a sandbox with narrow network access, short-lived credentials, resource limits and disposable state. Keep authentication, billing, audit logs and approval decisions outside the sandbox.
IndieTools lists agent-related developer products such as ClawHost, Ship Studio and AICode. Evaluate actual execution boundaries and ownership before adopting any platform.
Step 10: Trace before tuning
Record:
- prompt and configuration version;
- model and settings;
- tool list available to the run;
- model decisions and tool calls;
- sanitized inputs and outputs;
- approvals and actor;
- latency, token and tool cost;
- final verified outcome;
- failure and escalation reason.
OpenAI's quickstart recommends inspecting traces early, before prompt tuning. A trace shows where a run failed; an aggregate metric alone does not.
Step 11: Build evaluations
Create scenarios from real work:
- normal success;
- missing information;
- unsupported request;
- tool timeout before and after side effect;
- conflicting sources;
- prompt injection in a document;
- expired permission;
- user cancellation;
- request requiring approval;
- high-cost loop.
Score outcome, tool trajectory, policy compliance, latency and cost. Follow how to evaluate AI agents and AI agent security best practices.
Step 12: Release gradually
Use stages:
- offline evaluation;
- shadow mode with no actions;
- employee or design-partner test;
- read-only production access;
- approved reversible writes;
- bounded automation for proven cases.
Track correction and escalation, not only task completion. Expansion should be a policy decision supported by evidence.
Frequently asked questions
What programming language should I use for an AI agent?
Use the language your team can secure and operate. TypeScript and Python have broad agent ecosystems, but architecture and controls matter more than language.
Do I need an agent framework?
No. A direct model API plus application-managed loop may be enough. Use a framework when its state, tracing, approvals or orchestration reduce real work.
How many tools should an agent have?
Start with the minimum needed for one task. Large tool surfaces increase context, cost and selection errors. Split or load tools dynamically when evidence supports it.
How long does it take to build an AI agent?
A demo can take hours. A production workflow depends on integrations, risk, evaluation and recovery. Estimate the complete operating system, not only the first model call.
 99helpers
 Chatgrow
 Ship Studio
 AICode
 ClawHost
 NEXUS AI